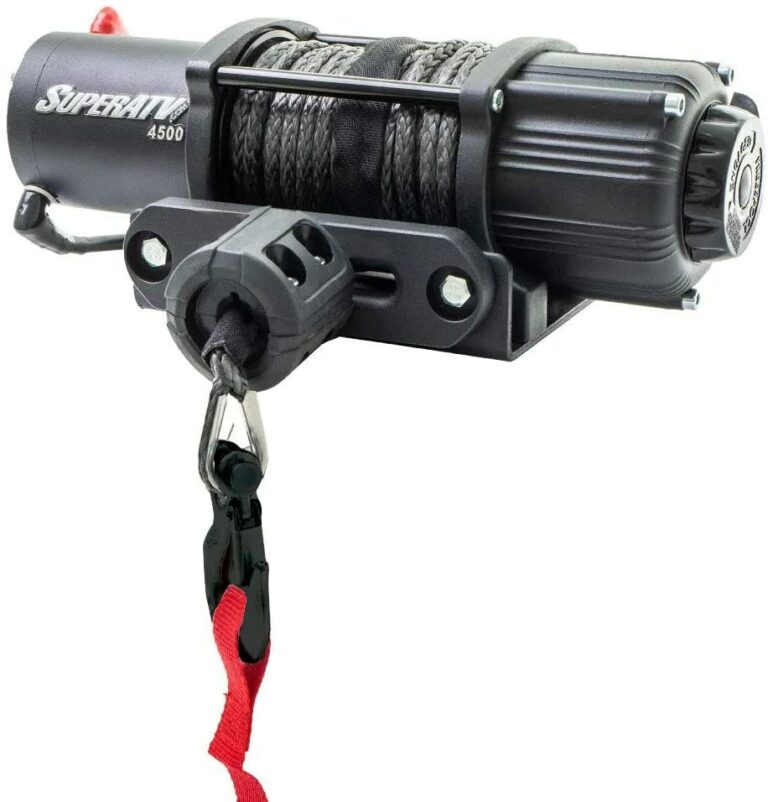
An all-terrain vehicle (ATV) winch is an essential accessory for off-road enthusiasts and outdoor adventurers. It offers incredible utility by assisting in recovery operations, moving heavy loads, and navigating through challenging terrain. However, proper wiring of your ATV winch is crucial to ensure its safety and functionality. This article is a comprehensive step-by-step guide on how to wire an ATV winch, catering to both beginners and experienced users. By following these instructions, you will be able to install and maintain your winch with ease while maximizing its potential.
Tools and Materials Needed
Before you begin the wiring process, gather the necessary tools and materials to ensure a seamless installation. Here’s a list of the essentials:
-
- ATV winch and mounting hardware
-
- Power cables and connectors
-
- Winch control switch
-
- Socket wrench set
-
- Wire stripper and crimper
-
- Cable ties or clamps
-
- Protective conduit or wire loom
-
- Voltmeter or multimeter (optional)
-
- Electrical tape
Choosing the Right Winch for Your ATV
Selecting the appropriate winch for your ATV depends on several factors. Consider the following when making your decision:
Load capacity: Choose a winch with a load capacity that’s at least 1.5 times your ATV’s gross weight. This ensures that it can handle the various tasks you’ll encounter.
Motor type: Winch motors come in two main types: permanent magnet (PM) and series wound (SW). PM motors are less expensive and lighter but may overheat during extended use. SW motors offer better performance but are more expensive and heavier.
Mounting options: Select a winch with mounting options that are compatible with your ATV. Some ATVs have built-in mounting points, while others require aftermarket mounting plates or custom fabrication.
Preparing Your ATV for Winch Installation
Locating the ideal mounting location: Choose a spot on your ATV’s frame that can support the winch’s weight and torque. The location should be easily accessible and have enough space for the winch and wiring.
Ensuring there is enough space: Measure the dimensions of your chosen winch and compare them to the available space on your ATV. Ensure there is enough room for the winch, its cables, and other components.
Preparing the mounting surface: Clean the mounting surface thoroughly, removing any dirt or debris. Apply a layer of corrosion-resistant paint or primer if necessary to protect the surface.
Step-by-Step Wiring Guide
Mounting the winch to your ATV:
-
- Align the winch mounting holes with the corresponding holes on the mounting plate or your ATV’s frame.
-
- Insert the mounting bolts through the holes and tighten them securely using a socket wrench. Be careful not to overtighten the bolts, as this can damage the winch or your ATV.
Routing and connecting the power cables:
Connecting the positive and negative cables to the winch motor:
a. Locate the positive (red) and negative (black) terminals on the winch motor.
b. Strip the ends of the power cables, exposing about half an inch of the copper wire.
c. Crimp or solder the appropriate connectors onto the stripped cable ends.
d. Attach the positive cable to the positive terminal and the negative cable to the negative terminal. Tighten the connections using a wrench.
Routing the cables to the ATV battery:
a. Plan a route for the cables that avoids sharp edges, moving parts, or hot surfaces. Make sure the cables will not interfere with the operation of your ATV.
b. Secure the cables along the route using cable ties or clamps, ensuring they are not too tight or too loose.
Connecting the cables to the battery terminals:
I recommend that before you connect the wires to the ATV battery, do know how much amps does that ATV winch draw from battery. This will let you know whether the current ATV battery is sufficient for the winch or not.
a. Locate your ATV’s battery and identify the positive (red) and negative (black) terminals.
b. Disconnect the battery before proceeding to avoid short circuits or electrical shock.
c. Attach the positive cable from the winch to the positive battery terminal and the negative cable to the negative terminal.
d. Reconnect the battery after all connections are secure.
Installing the winch control switch:
Choosing a suitable location for the ATV winch switch:
a. Select a location for the control switch that is easily accessible and within reach while operating your ATV.
b. Ensure there is enough space behind the chosen location to accommodate the switch and its wiring.
Connecting the control wires from the winch to the switch:
a. Route the control wires from the winch to the switch location, avoiding any sharp edges, moving parts, or hot surfaces.
b. Strip the ends of the control wires and attach the appropriate connectors.
c. Connect the control wires to the corresponding terminals on the switch according to the manufacturer’s instructions.
Securing and protecting the wires:
Use cable ties or clamps to secure any loose wires, ensuring they are not too tight or too loose.
Employ wire loom or protective conduit for added protection against abrasion, heat, or moisture.
Testing and Troubleshooting
Checking connections and wiring:
-
- Inspect all connections to ensure they are tight and secure.
-
- Verify that the cables and wires are routed correctly and free of damage.
Testing the winch operation and control switch:
-
- Turn on your ATV and operate the winch using the control switch.
-
- Confirm that the winch operates smoothly in both directions (in and out).
-
- If the winch does not function as expected, consult the manufacturer’s troubleshooting guide or seek professional assistance.
Identifying and addressing common issues:
Winch does not operate or operates intermittently: Check for loose or corroded connections, damaged cables, or a blown fuse.
Winch operates in one direction only: Inspect the control switch and its wiring for damage or loose connections.
Winch motor overheats: Ensure the winch is not overloaded and that it has adequate cooling. Allow the motor to cool down before continuing operation.
Winch Maintenance and Safety Tips
Regular inspection and maintenance for optimal performance:
Inspect your winch, cables, and connections regularly for signs of wear or damage.
Clean and lubricate the winch components according to the manufacturer’s recommendations.
Replace any damaged or worn parts promptly to prevent further damage or accidents.
Safety precautions when using the winch:
Always wear gloves and protective eyewear when operating the winch.
Keep hands, clothing, and hair away from moving parts.
Use caution when handling the winch cable, as it can develop sharp burrs or kinks.
Tips for extending the lifespan of your winch:
Avoid overloading the winch[1] or using it for extended periods without breaks.
Unwind and rewind the winch cable periodically to prevent kinks or tangles.
Store your ATV indoors or cover the winch when not in use to protect it from the elements.
Conclusion
Proper wiring of your ATV winch is essential for its safety and functionality. By following this step-by-step guide, you can install and maintain your winch with confidence, ensuring that it serves you well for years to come. Remember to practice safe winching techniques and conduct regular maintenance to extend the life of your winch and enhance its performance. We encourage you to tackle the wiring process yourself, but don’t hesitate to seek professional help if you encounter any issues or have concerns about your installation.
If you wish to read more on ATV winches, I have some more guides below do check them too!
References
Razz, H. (2017b, February 7). So, am i overloading my winch? [Online forum post]. Jeep Wrangler Forum. https://www.wranglerforum.com/threads/so-am-i-overloading-my-winch.1951050/